YouTrack tutorial Part2: How to Create First Project in YouTrack
Welcome back! 🚀 In this second part of our YouTrack tutorial series, we’ll walk you through the process of creating your first YouTrack project.
As a software engineer, developer, or manager, getting your projects up and running efficiently is key to your team’s success. With YouTrack, developed by JetBrains, you can streamline your project management and issue tracking workflows.
Let’s dive in and set up your first YouTrack project! 🎯
Create YouTrack Project 🎉
Step 1: Log In to Your YouTrack Account
To get started, log in to your YouTrack account by visiting yourname.youtrack.cloud and entering your admin email and password. 🔑
Step 2: Access the Project Creation Page
Once logged in, navigate to the project creation page:
- Click on the “Projects” tab in the main navigation menu.
- Select the “Create Project” button.
Step 3: Configure Your Project Details
Fill in the project details to match your team’s needs:
- Project Name: Choose a name that reflects the purpose or nature of your project. 📛
- Project ID: This will be used as a unique identifier for your project.
- Project Description: Provide a brief description of your project to give context to your team members. 📝
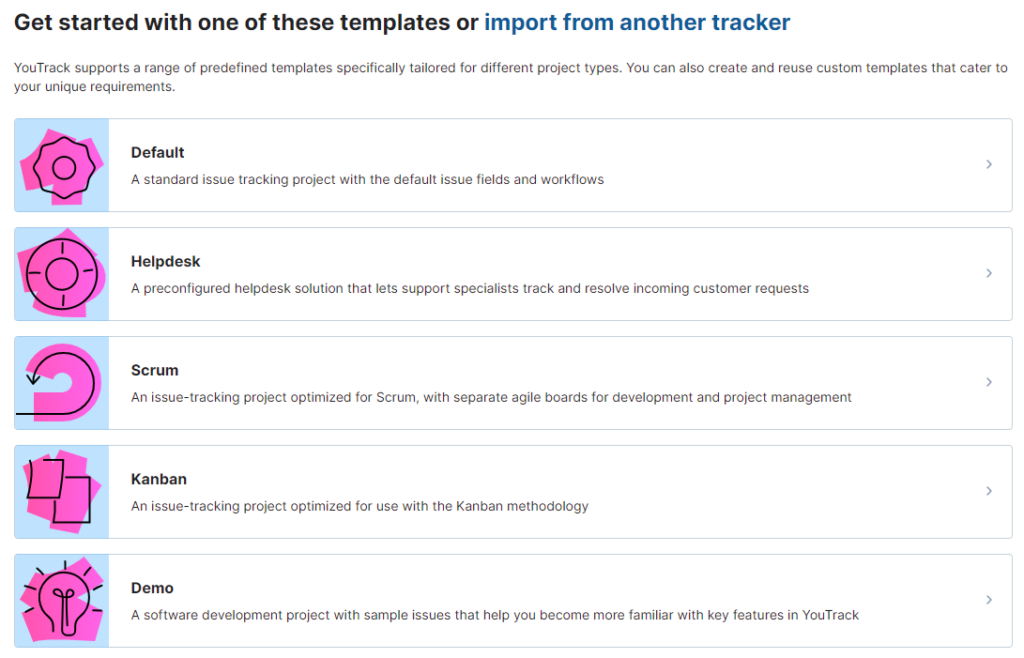
- Project Type: You can choose from these kind of project types
- Default: A standard issue tracking project with the default issue fields and workflows.
- Scrum: An issue-tracking project optimized for Scrum, with separate agile boards for development and project management.
- Kanban: An issue-tracking project optimized for use with the Kanban methodology
- Helpdesk: A preconfigured helpdesk solution that lets support specialists track and resolve incoming customer requests
- Demo: A software development project with sample issues that help you become more familiar with key features in YouTrack

Step 4: Finalize and Create Your Project
Review all the details and settings you’ve configured:
- Click the “Create” button to finalize your project setup.
- Your new project is now ready for use!
That’s it.
Conclusion
Creating your first YouTrack project is a simple yet essential step to help your team manage projects and track issues more effectively. ⏲️
Take a moment to watch the video. It’ll give you a 👀 into my experience creating the first YouTrack project.
Stay tuned for the next parts of this YouTrack tutorial! 🎥✨
Feel free to leave your comments and questions below. Happy issue tracking! 🐞
YouTrack and the YouTrack logo are registered trademarks of JetBrains s.r.o.

